
How Hardware Prototyping Reduces Costly Product Development Mistakes
Hardware prototyping costs time and money, but skipping it can cost far more. A well-planned prototype helps product teams uncover design, usability, assembly, material, and performance problems before those problems reach tooling or production.
Every physical product begins with assumptions. The product team assumes the dimensions will feel right, the components will fit together, the mechanism will operate reliably, and the intended user will understand how everything works.
CAD models, simulations, calculations, and engineering experience can strengthen those assumptions. They cannot replace every lesson that comes from building and handling a physical product.
Hardware prototyping converts assumptions into testable evidence. It gives a product team something it can assemble, measure, operate, stress, misuse, and place in front of real users. Each problem found during that process is an opportunity to make a controlled correction before the same issue affects tooling, inventory, shipping, or customers.
Why Product Mistakes Become More Expensive Over Time
A design change made in CAD may require a few hours of engineering work. The same change made after a prototype has been built may require new parts and another test cycle. After tooling has been produced, it could require a mold modification, replacement tooling, revised fixtures, new packaging, or discarded inventory.
The design problem itself may not have changed. What changes is the amount of work and money already committed around it.
This is why early hardware prototypes should not be judged only by how closely they resemble a finished product. Their value comes from the questions they answer and the expensive commitments they help a team avoid.
The NIST Manufacturing Extension Partnership identifies rapid prototyping and design iteration as important additive manufacturing applications because they allow teams to address design issues without first accepting the lead time and cost of production tooling.
Common Risks Hardware Prototypes Can Expose
- Parts that do not fit together as expected
- Controls, handles, or interfaces that are awkward to use
- Materials that bend, crack, deform, or wear too quickly
- Assemblies that require excessive labor or rework
- Components that are difficult to access, fasten, or service
- Dimensions and tolerances that cannot be produced consistently
- Thermal, electrical, or mechanical performance problems
- Features that users misunderstand or overlook
Test Fit, Clearances, and Assembly
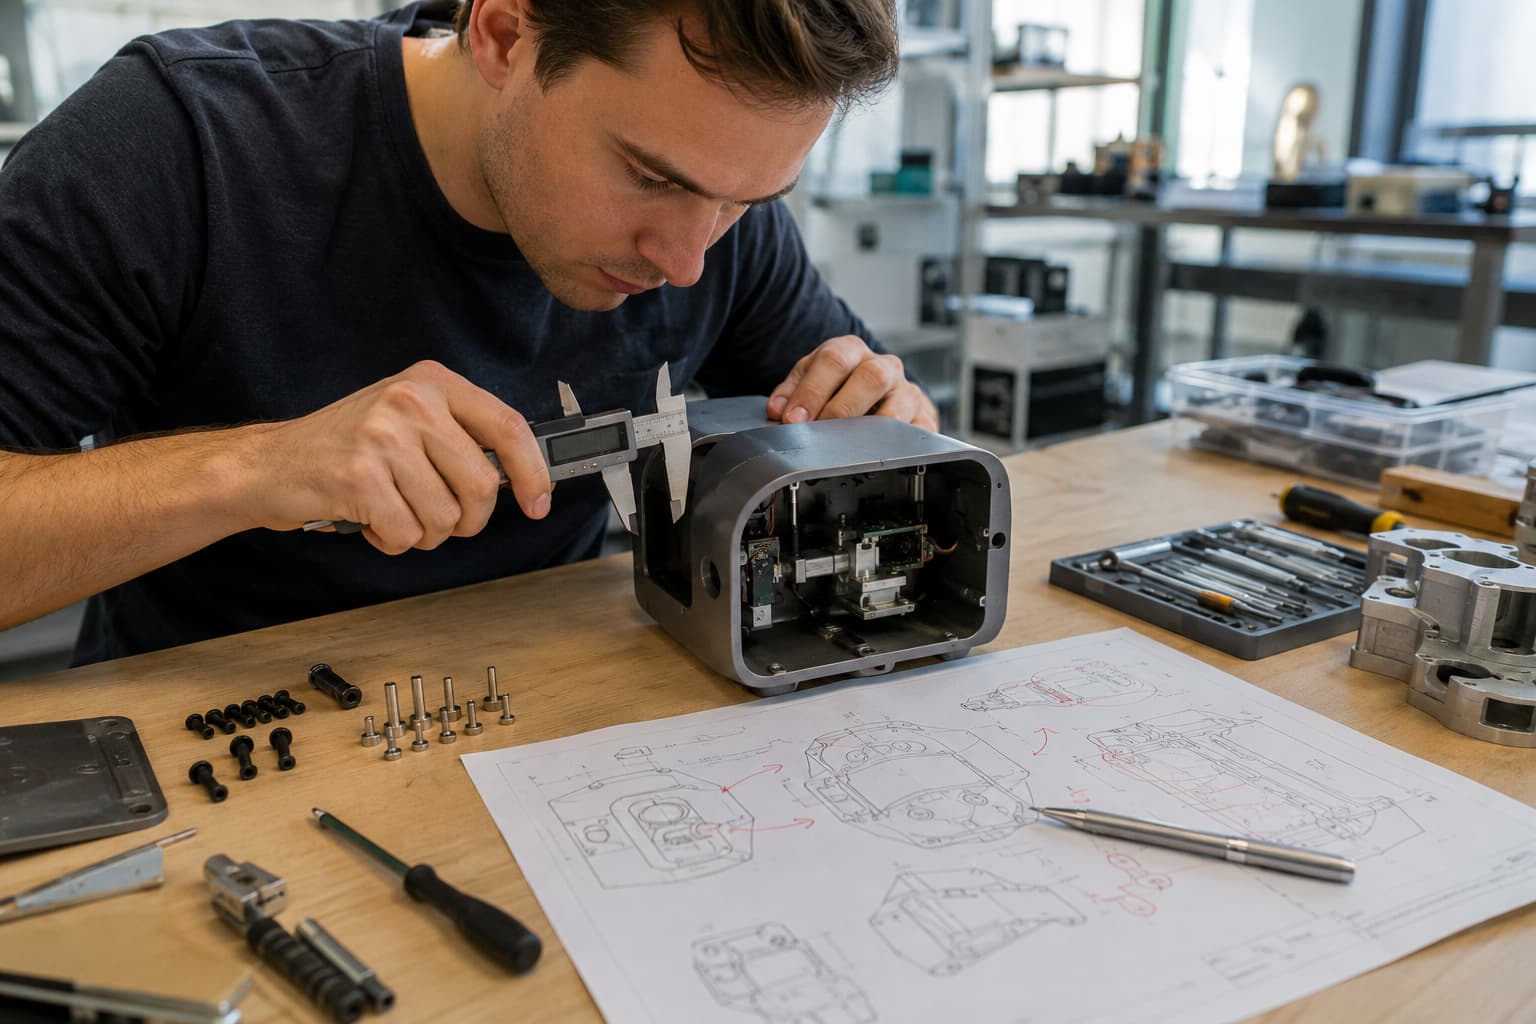
Parts that align perfectly on a screen may behave differently when they are physically produced. Manufacturing variation, material flexibility, fastener placement, surface finishes, wiring, adhesives, and assembly order can all affect the final fit.
A physical prototype allows the team to evaluate whether parts align, snap features engage, fasteners are accessible, and internal components have enough clearance. It can also reveal whether the assembly sequence is practical.
This matters because assembly difficulty becomes recurring labor during production. If an enclosure must be flexed into place, a wire must be routed through an inaccessible area, or a fastener can only be installed at an awkward angle, every production unit inherits that problem.
Finding the issue during prototyping gives the team a chance to change the geometry, reposition a component, simplify a connection, or revise the assembly sequence before production fixtures and work instructions are created.
Find Usability Problems That CAD Cannot Show
A product can be mechanically functional and still be uncomfortable, confusing, or frustrating to use. Dimensions that looked reasonable in a model may feel oversized in the hand. A control may be difficult to reach. A latch may require more force than expected. A product may tip, slide, pinch, or obstruct the user’s view during normal operation.
These issues are especially difficult to evaluate without a physical object. Even a simple appearance or ergonomic prototype can help a team examine scale, grip, reach, balance, visibility, and user interaction before investing in more advanced engineering.
Real users also interact with products differently than designers expect. They may hold the product from an unanticipated angle, skip an intended step, apply force in the wrong direction, or misunderstand which feature should be used first.
Those observations should be treated as design information, not user error. If multiple people encounter the same problem, the product may need to communicate its intended use more clearly.
Challenge Material and Durability Assumptions
Material selection affects appearance, stiffness, weight, impact resistance, temperature performance, chemical resistance, wear, and manufacturing cost. A prototype may not always use the final production material, but it should still help the team identify which material properties matter most.
A product intended for repeated handling may need grip and abrasion testing. A product used outdoors may need exposure to heat, cold, moisture, sunlight, or dirt. Hinges, clips, straps, buttons, and moving joints may need repeated-cycle testing. Load-bearing features should be tested beyond ideal use conditions.
Not every prototype has to survive final validation testing. Early prototypes can be built specifically to expose weak points. A broken component can provide useful evidence when the test was designed to identify where and how failure occurs.
The goal is not to demonstrate that a carefully handled prototype works once. The goal is to understand how the design behaves across realistic use, foreseeable misuse, and repeated operation.
Verify Function Before Adding Finish
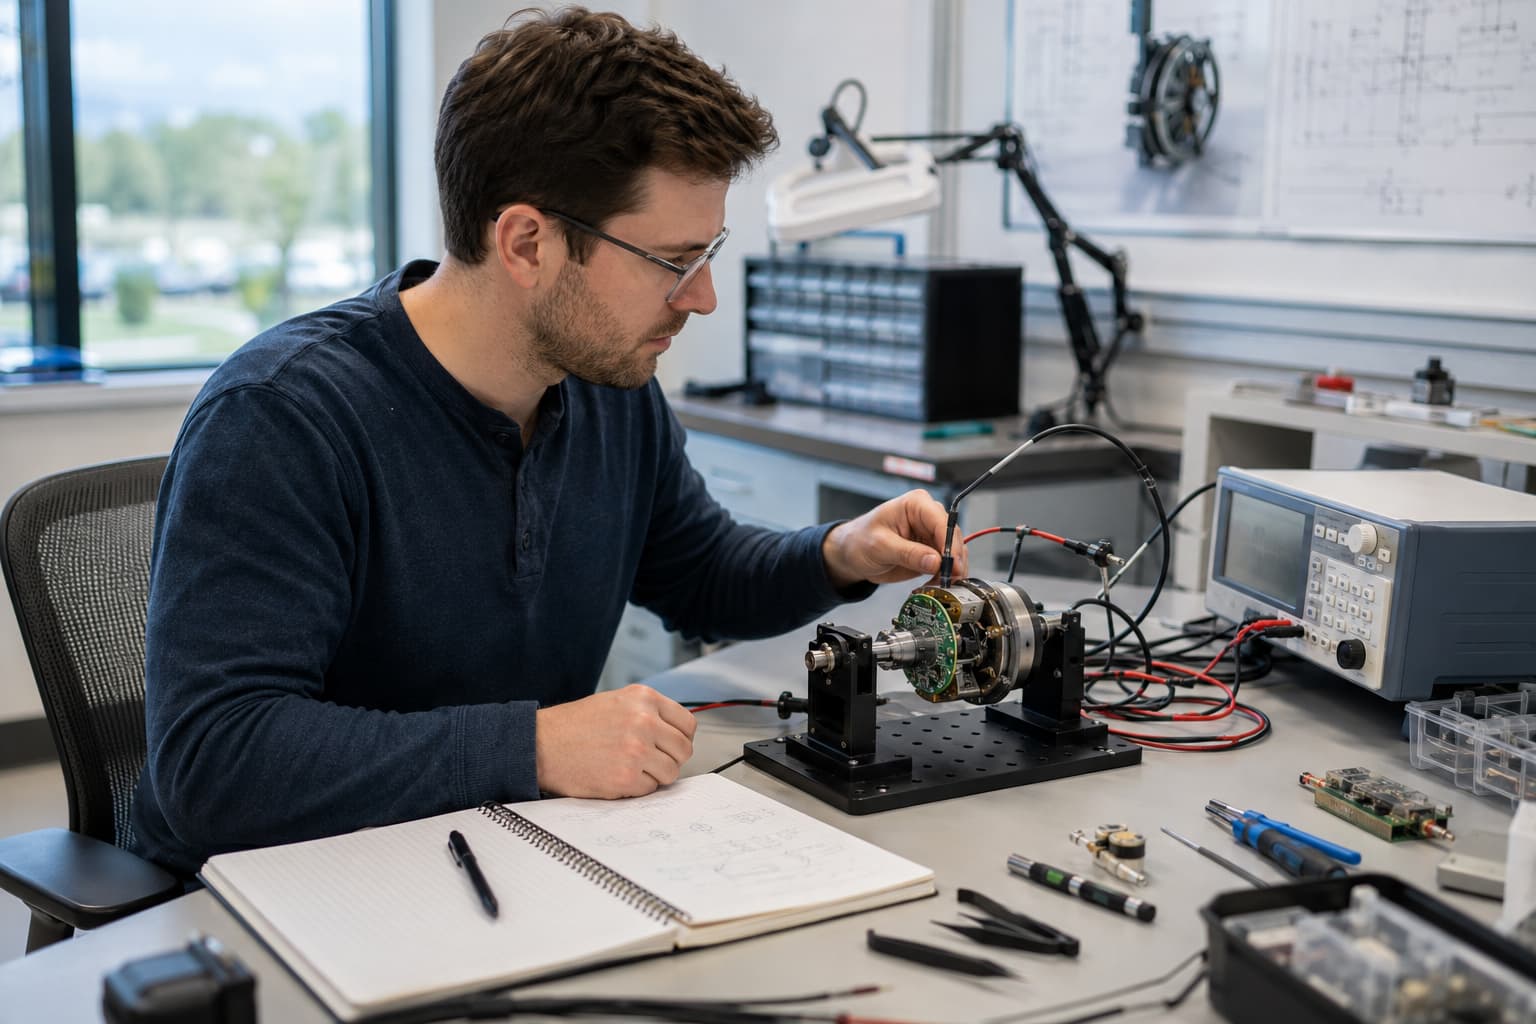
Product teams sometimes spend too much time making an early prototype look finished. A polished enclosure can create excitement, but it may not answer the project’s most important technical questions.
A functional prototype should focus on the mechanisms, electronics, sensors, controls, loads, temperatures, or interfaces that create the greatest project risk. If the core mechanism has not been proven, cosmetic finishing offers limited protection against a fundamental redesign.
For a connected product, that might mean testing power consumption, wireless performance, sensor placement, thermal behavior, and communication between components. For a mechanical product, it might mean testing force, motion, stability, alignment, or repeated cycles.
The appropriate prototype depends on the question. A rough proof of concept may be sufficient to evaluate a mechanism. A higher-fidelity engineering prototype may be needed to test integrated performance. A production-intent prototype may be required to evaluate manufacturing materials and processes.
This question-driven approach is covered more fully in From Idea to Market, Stage 3: Prototyping, Testing, and Early Iteration.
Use Prototypes to Improve Manufacturability
A prototype can also reveal when a design is unnecessarily difficult or expensive to manufacture. The team may discover that a part requires a complex tool, a tolerance is tighter than the function requires, or several components could be combined into a simpler assembly.
These discoveries connect prototyping directly with design for manufacturing. The prototype gives engineers and manufacturing partners a physical reference for discussing part geometry, tooling direction, fastening, assembly time, inspection, and material choices.
A product should not be optimized for manufacturing so aggressively that it loses the features users value. The objective is to preserve the product’s function and experience while removing avoidable production difficulty.
A NIST MEP case study provides a practical example. Multiple prototypes were used to verify a design change before injection molding, helping the product team avoid costly tooling changes later.
A Prototype Needs a Test Plan
Simply building a prototype does not guarantee useful learning. Without a clear test plan, teams may handle the prototype, demonstrate it to colleagues, and decide that it looks promising without collecting evidence about the most important risks.
Before each build, identify:
- The specific assumptions being tested
- The conditions under which the prototype will be evaluated
- The measurements or observations that will be recorded
- The criteria that define acceptable performance
- The people responsible for testing and documenting results
- The decisions that will follow each possible result
A useful test does not need to be complicated. It needs to produce information that affects the design or the decision to advance.
Teams should also document failures, unexpected behavior, user comments, measurements, and design changes. Without that record, lessons can be lost between iterations, and previously resolved problems may return in later revisions.
Avoid Building One Expensive Prototype Too Early
One of the most common prototyping mistakes is trying to build a single prototype that looks, feels, and functions like the final product before the major risks have been separated and tested.
That approach can make the prototype slower and more expensive than necessary. It can also make failures harder to diagnose because many unproven elements are combined at once.
A better approach may use several focused prototypes:
- An appearance model for scale and visual proportion
- An ergonomic model for grip, reach, and comfort
- A mechanical proof of concept for motion or load
- An electronics bench prototype for power and performance
- An assembly prototype for fit and component integration
- A production-intent prototype for final verification
These prototypes do not all need to be built simultaneously. Each should reduce enough uncertainty to justify the next level of investment.
Know When Prototyping Has Reduced Enough Risk
Prototyping can become wasteful if a team continues making revisions without clear objectives. The goal is not endless refinement. It is to reduce the most consequential uncertainties before the project moves toward manufacturing.
A product may be ready to advance when its critical functions have been demonstrated, important usability problems have been addressed, parts assemble as intended, major material risks are understood, and testing shows repeatable performance.
At that point, the team can begin converting a tested design into a controlled production system. The next steps are covered in From Idea to Market, Stage 4: Preparing for Manufacturing and Launch.
Hardware prototyping does not eliminate every product-development risk. It makes those risks visible while the team still has practical options for resolving them. The cost of a prototype should be evaluated against the tooling changes, production delays, failed inventory, customer returns, and damaged trust it may prevent.
Test the Product Before the Product Tests Your Budget
Ahdept helps founders and product teams build focused hardware prototypes, test critical assumptions, and resolve product-development risks before manufacturing commitments are made.
Our Office
450 N. Flint Street
Kaysville, UT 84037, USA
Contact Us
(385) 566-1877
info@ahdept.com
Careers
Office Hours
Mon-Fri: 8am - 5pm
Sat-Sun: Closed