
Hardware Product Development, The Real Workflow From Concept to Production
Hardware product development turns a promising concept into a physical product that can perform reliably, meet customer needs, and be manufactured repeatedly. The real workflow requires coordinated design, engineering, testing, sourcing, and production decisions, with evidence supporting each major step forward.
Hardware development is sometimes described as a simple sequence: design the product, build a prototype, and send it to a manufacturer. Real projects are more demanding.
A physical product may combine an enclosure, mechanisms, sensors, electronics, firmware, wireless communication, software, batteries, packaging, and accessories. Every part has dimensions, tolerances, materials, lead times, costs, and possible failure modes. A change to one part can affect several others.
This is what makes hardware product development fundamentally different from developing a purely digital product. Some software issues can be corrected after release with a new deployment. A hardware issue may require replacement parts, new tooling, supplier changes, production rework, or products being returned from customers.
That does not mean hardware teams should avoid iteration. It means they must learn in a disciplined order and reduce the most expensive uncertainties before committing to production.
What Hardware Product Development Includes
Hardware product development is the coordinated process of defining, designing, engineering, testing, and manufacturing a physical product. Depending on the product, it may involve:
- Customer and market research
- Product strategy and requirements
- Industrial design
- Mechanical engineering
- Electrical engineering
- Firmware and embedded systems
- Software and connected platforms
- Prototype development
- Verification and validation testing
- Design for manufacturing
- Supplier and component sourcing
- Tooling and production documentation
- Pilot production and quality planning
- Production launch and field support
These activities do not always happen in a perfectly linear sequence. Industrial design may evolve while engineers investigate components. Prototype testing may force a change to the product architecture. Supplier feedback may alter materials or geometry.
The workflow still needs structure. Without defined requirements, decision gates, and technical ownership, iteration can become expensive motion instead of productive learning.
Why Hardware Cannot Be Developed Like Software

Software and hardware teams both use prototypes, testing, version control, and iterative development. The difference is how physical constraints shape those activities.
A software team can create a new build without ordering material, waiting for components, or changing a mold. A hardware team must consider whether the next version requires machined parts, custom circuit boards, specialized assembly, new suppliers, or production tooling.
Hardware also introduces variability. Two physical parts made from the same drawing may differ slightly because of material behavior, tooling, machine capability, or assembly technique. The design must continue to work across acceptable variation rather than only under ideal conditions.
Other differences include:
- Lead times: Components, custom parts, and tooling can take weeks or months to obtain.
- Inventory exposure: A design change may affect parts that have already been purchased.
- Manufacturing constraints: A design that works in a prototype process may be difficult or expensive to produce at volume.
- Physical testing: Durability, temperature, moisture, vibration, impact, and repeated use require real-world evidence.
- Supply chain dependence: Product availability can depend on supplier capacity, component lifecycle, and logistics.
- Production quality: The team must verify not only the design, but also the process used to build it.
The hardware workflow exists to manage these realities before they become production failures.
Step 1: Define the Customer Problem and Business Case
Hardware development should begin with the problem, not the proposed device.
The team needs to understand who will use the product, what situation creates the need, how existing alternatives fall short, and what outcome would make the new product valuable. It should also establish initial assumptions about pricing, sales volume, distribution, manufacturing cost, and support.
Early questions may include:
- Who experiences the problem most frequently?
- What is the customer doing today instead?
- Which outcome matters enough to justify purchasing a new product?
- What price range is realistic?
- How many units might be needed during launch and at scale?
- What regulatory, environmental, or safety conditions may apply?
- What evidence would justify the next investment?
This work helps prevent a team from engineering an impressive solution to a weak or poorly defined problem.
Our guide to validating a product idea before building explains how to test these assumptions before development spending accelerates.
Step 2: Translate the Opportunity Into Requirements
Product requirements convert customer needs and business objectives into conditions the design must satisfy.
Requirements may define size, weight, operating life, speed, accuracy, load capacity, environmental resistance, connectivity, power consumption, serviceability, target cost, or expected production volume.
A useful requirements document distinguishes among:
- Required performance: What the product must accomplish
- Constraints: Conditions the design cannot violate
- Preferences: Features that would improve the product but are negotiable
- Assumptions: Ideas that still require validation
- Verification methods: How each important requirement will be tested
Requirements should evolve as the team learns, but changes should be deliberate and documented. If requirements change informally, the mechanical, electrical, firmware, and manufacturing teams may begin working toward different versions of the product.
Step 3: Establish Technical Feasibility
Before refining appearance or committing to a full product design, the team should investigate the technical questions most likely to determine whether the product can work.
This may require calculations, simulations, component evaluations, breadboards, rough mechanisms, test fixtures, or isolated proof-of-concept prototypes.
A connected product might need early testing of sensor performance, wireless range, battery consumption, or communication reliability. A mechanical product might require testing of force, motion, stability, sealing, material behavior, or repeated cycles.
These prototypes may not look like the final product. Their purpose is to answer focused technical questions quickly and economically.
The NIST Manufacturing Extension Partnership identifies additive manufacturing and simulation as tools that can help teams evaluate designs and test improvements before committing to more expensive production methods.
The correct early prototype is not the one that looks most finished. It is the one that produces the evidence needed for the next decision.
Step 4: Develop the Product Architecture
Once the core concept appears feasible, the team defines how the product’s major systems will work together.
The architecture may identify:
- The main mechanical assemblies
- Electrical power and signal paths
- Sensors, processors, and communication modules
- Firmware and software responsibilities
- User controls and feedback
- Structural and environmental protection
- Interfaces between replaceable or serviceable parts
- Connections to external products or platforms
Good architecture reduces ambiguity between disciplines. It establishes who owns each interface and makes it easier to identify where a change will have downstream effects.
This is especially important for connected hardware. A smaller enclosure may affect antenna performance. A different battery may change charging behavior, thermal conditions, weight, internal layout, and certification requirements. The product must be treated as an integrated system.
Step 5: Develop and Integrate the Engineering Design
Engineering development turns the architecture into detailed mechanical parts, circuit boards, firmware, controls, and interfaces.
Industrial design and engineering should remain connected during this stage. Industrial design shapes the user experience, physical interaction, proportions, and visual character. Engineering determines how the product will function, survive use, assemble, and meet technical requirements.
If either discipline works without the other, the team may end up with a product that is attractive but impractical or functional but difficult to use.
Integrated product engineering services help manage the relationships among mechanical, electrical, firmware, and software decisions. Reviews should evaluate the product as a complete system rather than approving each discipline in isolation.
Step 6: Build Engineering Prototypes
Engineering prototypes combine enough of the product’s systems to evaluate integrated performance. Depending on the project, several builds may be required.
One build may use machined or 3D-printed parts with development electronics. Another may use a custom circuit board in an early enclosure. Later units may use production-intent components and materials.
Each prototype should have a documented purpose. The team should know:
- Which requirements the prototype will test
- Which parts represent the intended design
- Which parts are temporary substitutes
- What measurements will be collected
- What constitutes a passing result
- What decision will follow the test
The process is explored further in our guide to rapid prototyping services and what to expect.
Step 7: Verify the Product Under Realistic Conditions
Verification determines whether the design meets its defined requirements. It should move beyond demonstrations that prove the product can work under ideal conditions.
Testing may include:
- Functional performance
- Accuracy and repeatability
- Mechanical loads and impacts
- Temperature and humidity exposure
- Water or dust resistance
- Battery life and charging
- Wireless performance
- Durability and lifecycle testing
- Usability and foreseeable misuse
- Packaging and transportation
- Safety and regulatory preparation
Failures should be investigated rather than patched without explanation. A broken component may indicate a material problem, incorrect load assumption, tolerance issue, assembly problem, or weakness in the system architecture.
The design history should show what failed, why the team believes it failed, what changed, and how the revised design was verified.
Step 8: Design for Repeatable Manufacturing
A successful engineering prototype proves that a product can work. Design for manufacturing determines whether it can be built repeatedly at the required cost, quality, and volume.
This stage evaluates part geometry, materials, tolerances, tooling, assembly sequence, component availability, inspection, serviceability, packaging, and supplier capability.
Manufacturing input should begin before the design appears finished. Early supplier involvement can identify features that increase tooling complexity, create unnecessary secondary operations, or depend on unrealistic tolerances.
Effective design for manufacturing does not mean removing every distinctive feature. It means achieving the intended product experience through decisions that are practical to source, assemble, inspect, and support.
Step 9: Release Controlled Production Documentation
A manufacturer needs more than a three-dimensional model. The production package must communicate design intent clearly and control the version being built.
Depending on the product, the release package may include:
- Production CAD files
- Engineering drawings and tolerances
- Bills of materials
- Approved component and supplier lists
- Electrical schematics and board files
- Firmware and software release versions
- Assembly instructions
- Test procedures and fixtures
- Quality standards and inspection criteria
- Packaging specifications
- Labeling and compliance requirements
Revision control is critical. If suppliers, assemblers, and test teams use different versions, defects can appear even when each group believes it followed the correct instructions.
Step 10: Validate the Production Process
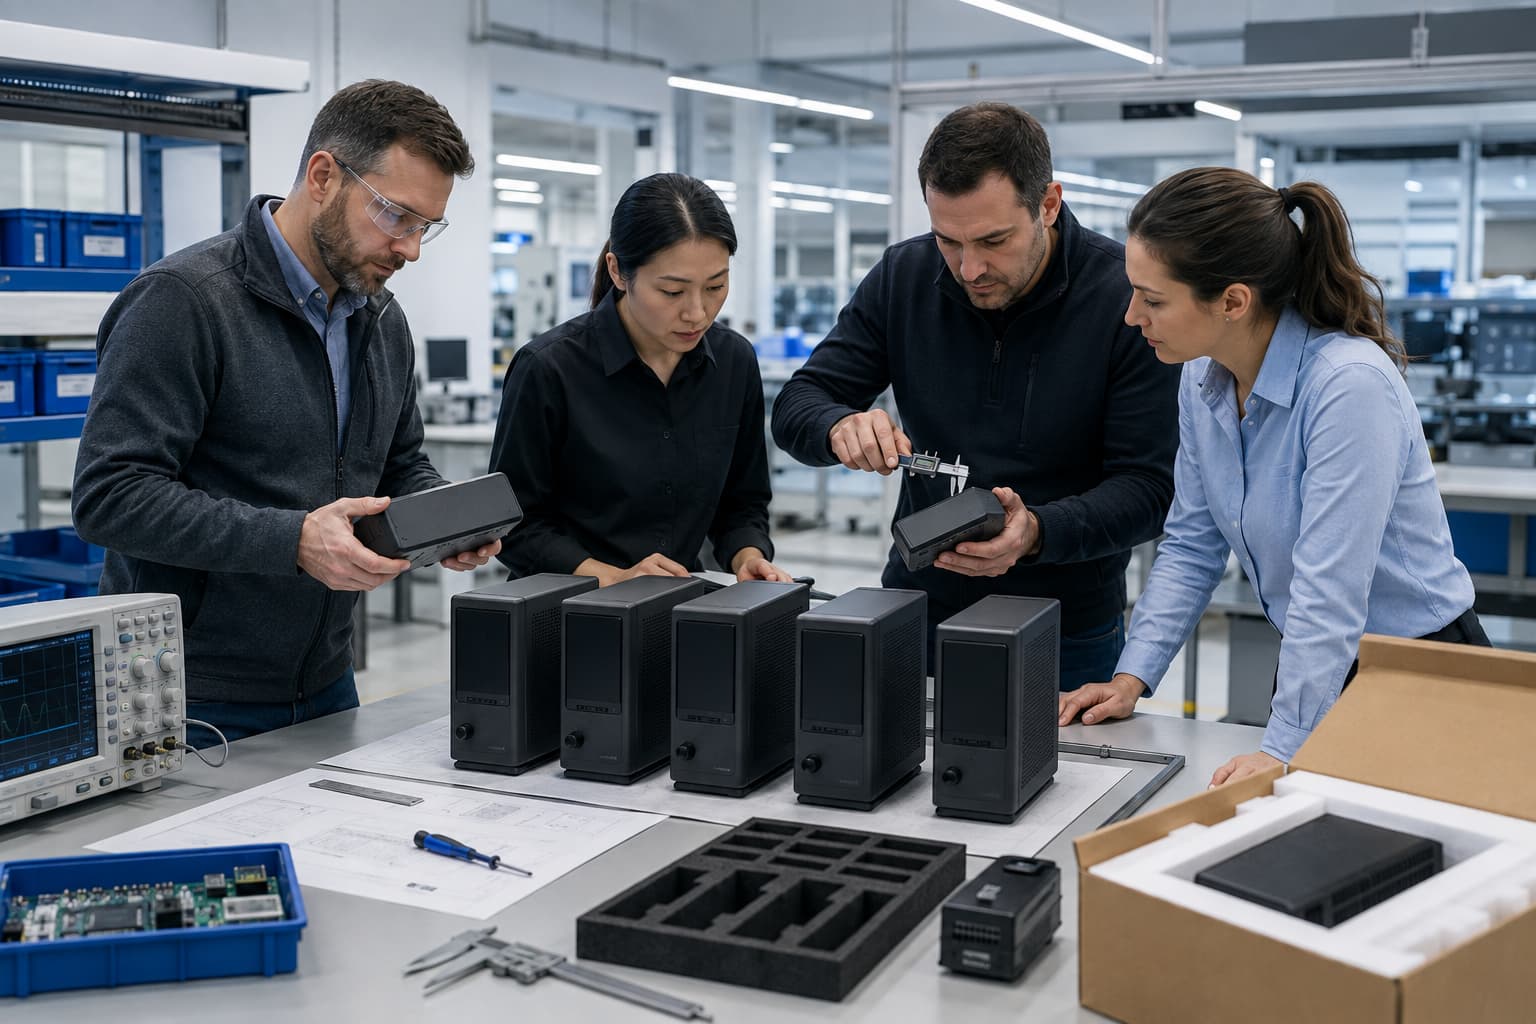
A pilot build tests the production system before the team commits to larger quantities. It evaluates whether suppliers, tooling, assembly instructions, inspection methods, and test procedures can produce consistent units.
The team should inspect more than the finished appearance. It should review:
- Incoming component quality
- Tooling performance
- Assembly time and difficulty
- Operator instructions
- Fixture and test coverage
- Production yield
- Dimensional variation
- Cosmetic consistency
- Packaging and shipping performance
- Any rework required to produce acceptable units
Problems discovered during a pilot build may require a design change, supplier correction, tooling adjustment, documentation update, or process improvement.
Our guide to moving from prototype to manufacturing explains why this transition requires more than sending files to a factory.
Step 11: Approve Production and Monitor Early Units
Production approval should be based on evidence that the design and manufacturing process are ready. It should not be driven only by a launch deadline or the amount already invested.
Before approval, the team should understand:
- Whether the product passed its required tests
- Whether the pilot units represent the released design
- Whether critical suppliers and components are secured
- Whether production yield and quality are acceptable
- Whether inspection and test processes can detect important defects
- Whether packaging protects the product during distribution
- Whether support, warranty, and replacement procedures are ready
Early production should still be monitored closely. Field issues, customer behavior, assembly data, returns, and support questions can reveal opportunities for corrective action or future improvement.
Decision Gates Keep the Workflow Moving
A disciplined workflow does not mean continuing development until every uncertainty disappears. That would make many projects too slow and expensive.
Instead, teams use decision gates to determine whether the available evidence supports the next commitment.
A gate may ask whether:
- The customer problem is strong enough to justify development
- The proposed concept is technically feasible
- The architecture can meet the requirements
- The integrated prototype performs as intended
- The design is ready for tooling or production documentation
- The manufacturing process can produce consistent units
- The product is ready for commercial release
The investment and consequences generally increase at each gate. A sketch is inexpensive to change. A production tool, purchased inventory, or released product is not. The purpose of each gate is to retire the right risks before making the next commitment.
Common Hardware Development Mistakes
Hardware programs often struggle because teams skip evidence-producing work or complete it in the wrong order.
Common mistakes include:
- Designing around unvalidated customer assumptions
- Polishing the enclosure before proving the core function
- Allowing disciplines to develop incompatible interfaces
- Using prototypes without defining what they must prove
- Waiting too long to involve suppliers or manufacturers
- Treating a working prototype as a production-ready design
- Ordering tooling before the design is verified
- Changing components without evaluating system-level effects
- Releasing incomplete or inconsistent production documentation
- Scaling before the production process is validated
The solution is not more paperwork for its own sake. It is clear requirements, focused prototypes, documented decisions, coordinated ownership, and evidence-based gates.
The Real Hardware Workflow Is a Risk-Reduction System
Hardware product development is not simply the work required to build the next version. It is a system for reducing customer, technical, manufacturing, and commercial risk in a logical sequence.
The workflow begins with the customer problem and requirements. It continues through feasibility, architecture, integrated engineering, prototypes, verification, manufacturing preparation, pilot production, and controlled launch.
Ahdept helps founders and product teams manage that complete path. Our venture studio brings product strategy, industrial design, engineering, prototyping, manufacturing preparation, and commercialization together around one physical product and one set of objectives.
The result is more than a prototype that works once. It is a product and production system designed to work repeatedly.
Building a Hardware Product?
Tell us what you are developing, what has already been proven, and where the project is getting stuck. Ahdept can help define the next technical and commercial steps from concept through production.
Our Office
450 N. Flint Street
Kaysville, UT 84037, USA
Contact Us
(385) 566-1877
info@ahdept.com
Careers
Office Hours
Mon-Fri: 8am - 5pm
Sat-Sun: Closed